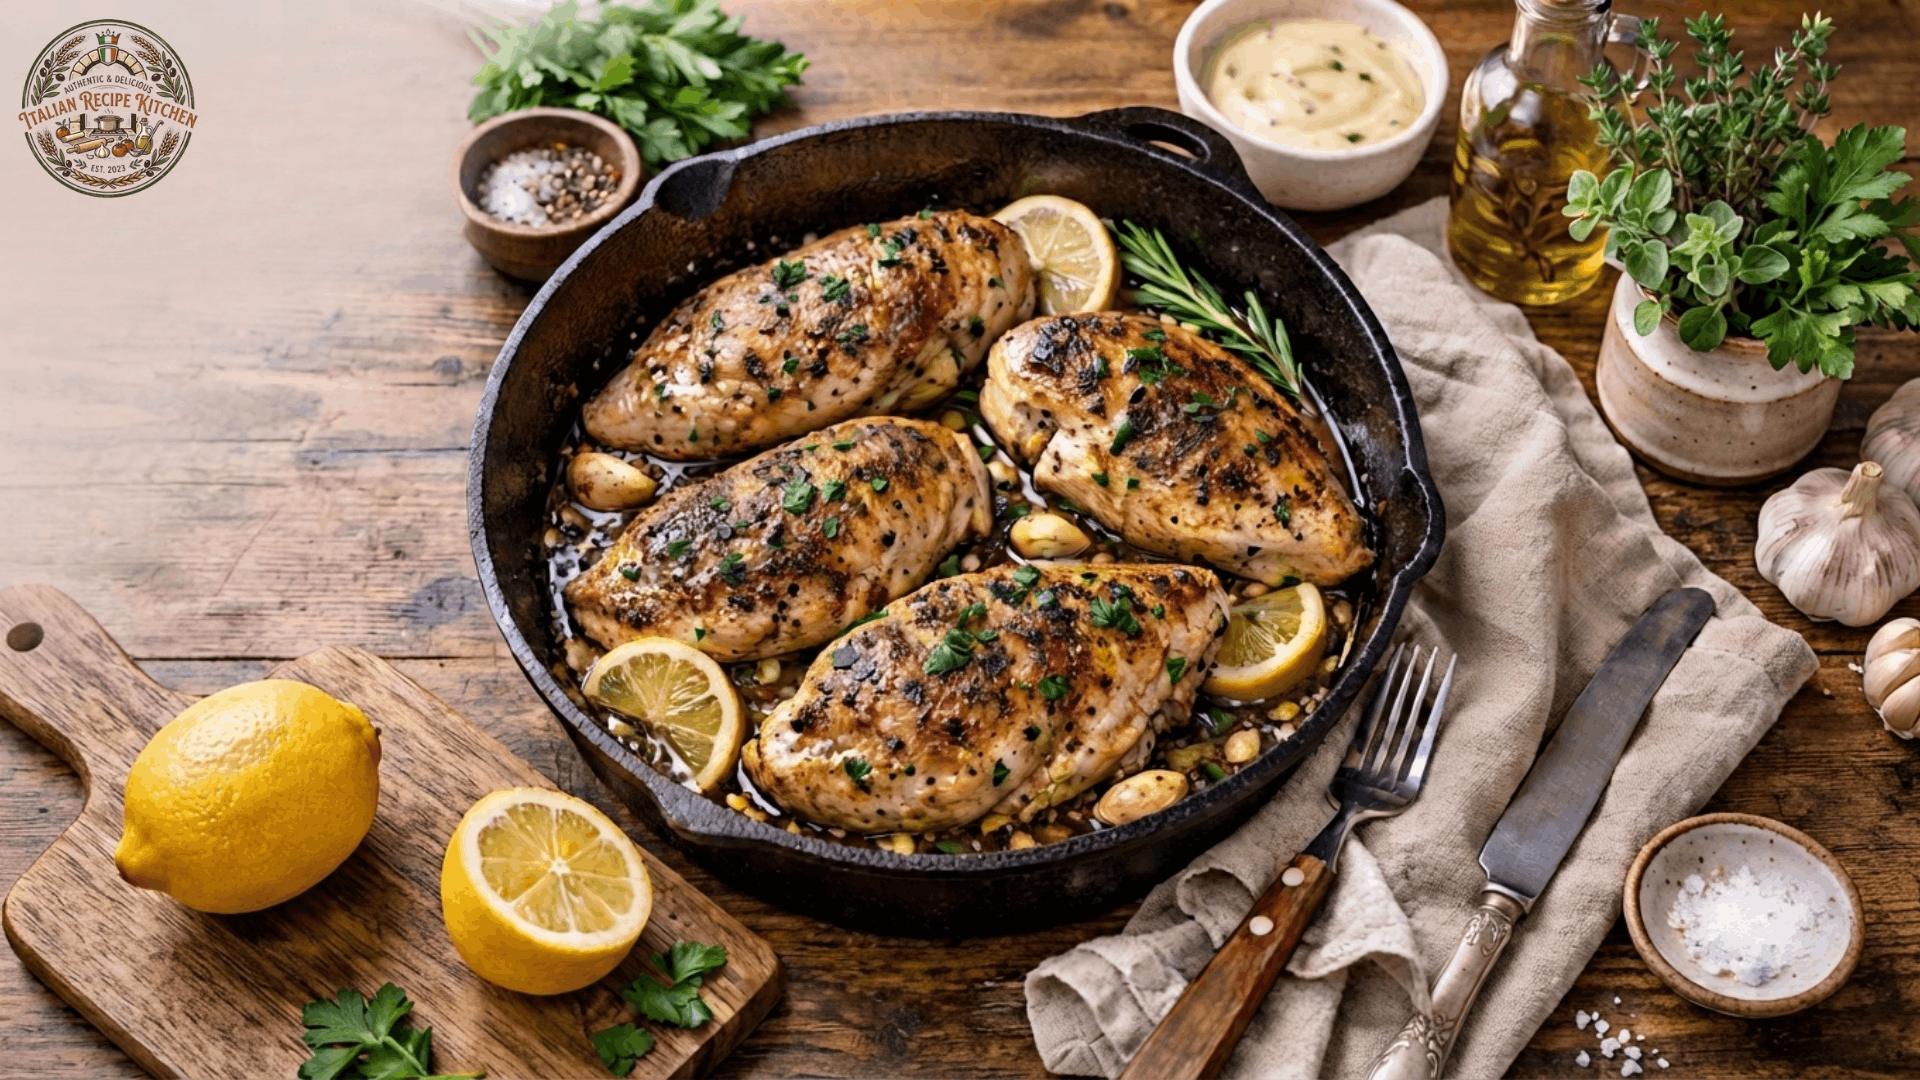
Dry, rubbery chicken breast is one of the most common kitchen letdowns. You follow a recipe, you pull it off the heat right on time, and it still turns out chewy and flavorless. The problem almost always comes down to two things: the wrong pan and the wrong heat control.
A cast iron skillet fixes both issues at once. It holds heat evenly, gives you a deep golden crust, and moves easily from stovetop to oven so the inside cooks gently while the outside turns crisp. This cast iron chicken breast recipe is simple, quick, and nearly foolproof once you know the basic method. Pair it with Italian Mac and Cheese for a comforting, restaurant-quality meal.
By the end of this guide, you will know exactly how to season, sear, and finish chicken breast so it stays juicy every single time.
Why You’ll Love This Cast Iron Chicken Breast Recipe
This recipe earns a permanent spot in your weekly rotation for a few good reasons.
- It is ready in about 30 minutes, making it perfect for busy weeknights.
- The sear locks in moisture, so the chicken stays tender instead of drying out.
- Garlic herb butter melts over the top for rich, restaurant-style flavor.
- It works with almost any side dish, from salads to pasta to roasted vegetables.
- Leftovers reheat well, so it is also a smart meal prep option.
A Quick Look at the Recipe
Here is the basic idea before we get into the details. You season the chicken breasts, sear them in a hot cast iron skillet to build a crust, then finish cooking them in the oven until the center reaches a safe temperature. A pat of garlic herb butter on top ties everything together.
| Detail | Information |
|---|---|
| Total time | About 30 minutes |
| Cook method | Stovetop sear plus oven finish |
| Servings | 4 chicken breasts |
| Oven temperature | 425°F |
| Internal temperature | 165°F |
| Skill level | Beginner friendly |
Choosing the Best Chicken Breasts
Good chicken starts before it ever hits the pan. Look for breasts that are pale pink, smooth, and slightly shiny, not dull or slippery. Try to pick pieces that are close in size and thickness so they finish cooking at the same time.
If one breast is noticeably thicker than the others, place it under plastic wrap and pound it gently with a meat mallet until it is roughly even. This one small step prevents the classic problem of a burnt outside with a raw center.
Ingredient Notes
Chicken
Boneless, skinless chicken breasts work best for this method since they cook quickly and evenly. Bone-in or skin-on pieces can also be used, but plan on a few extra minutes of cooking time.
Garlic Herb Butter
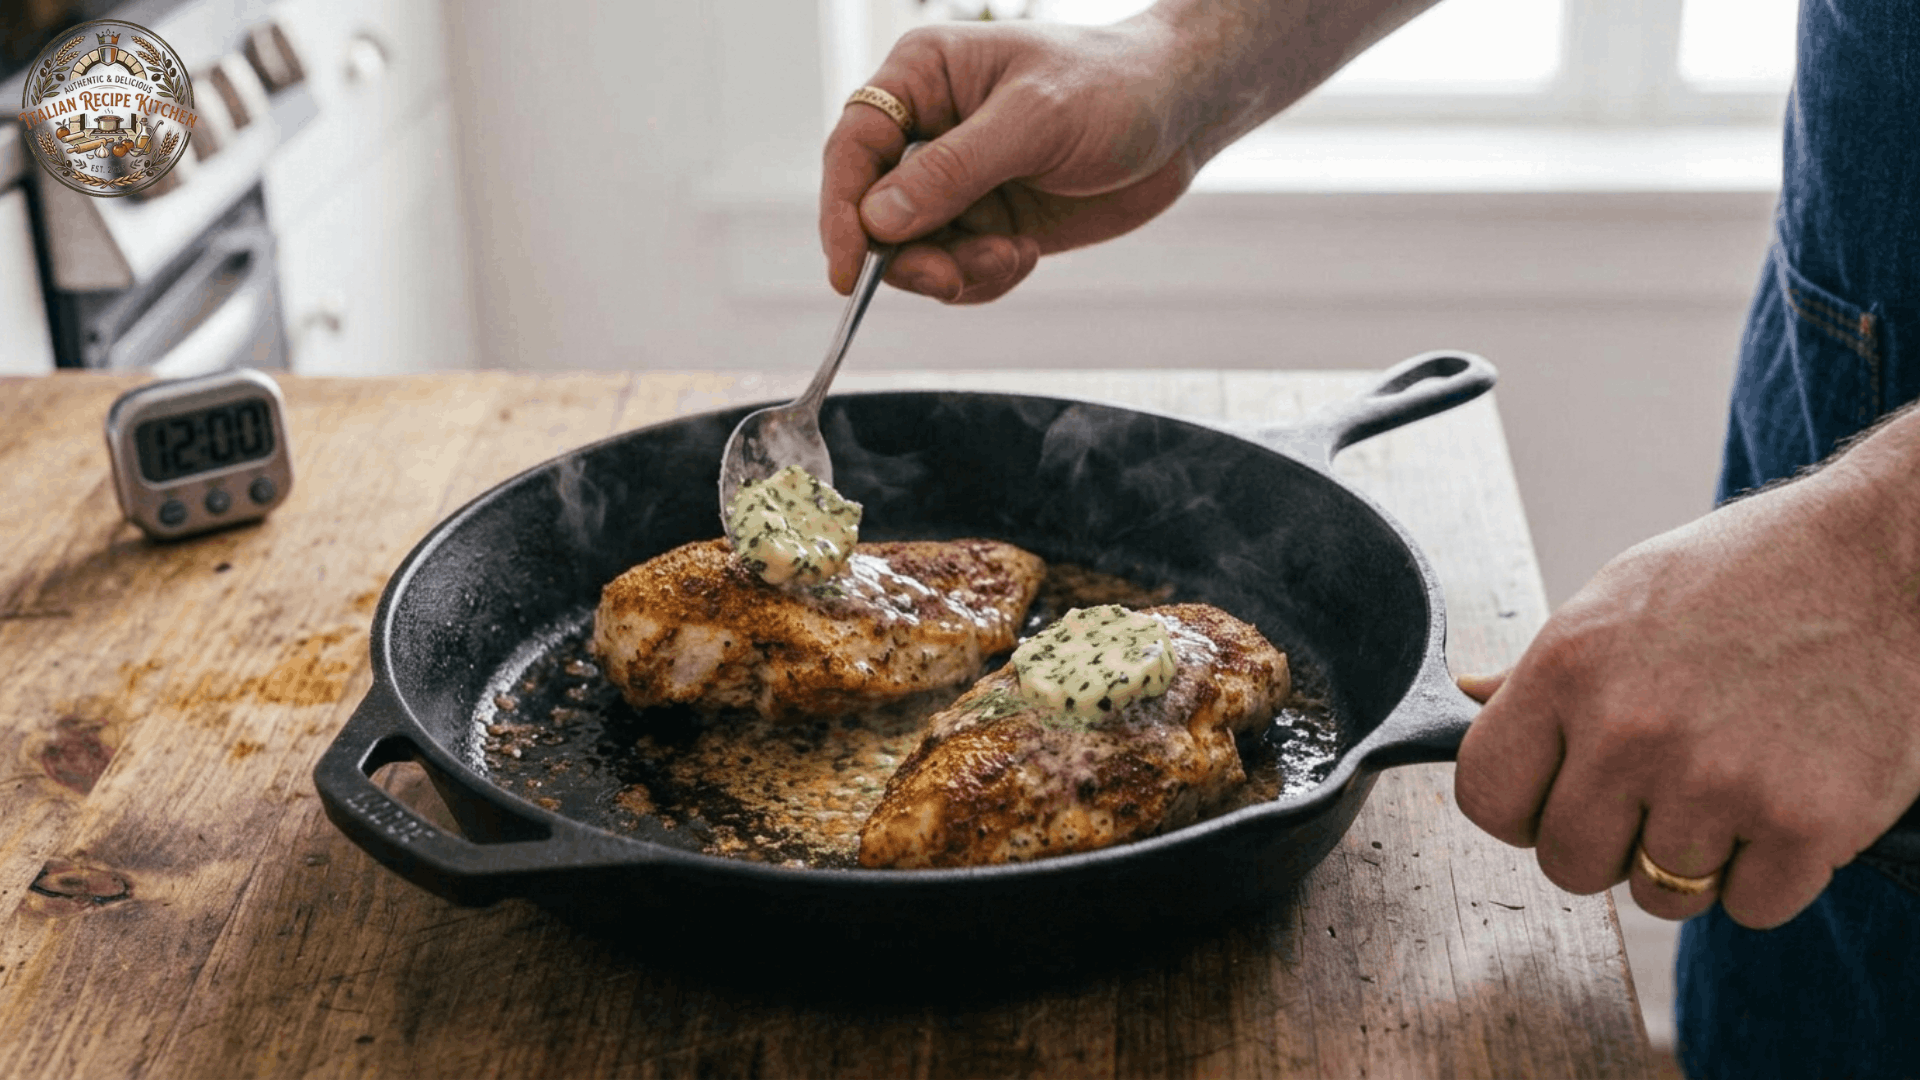
Soft butter, minced garlic, fresh thyme, and a squeeze of lemon juice come together into a simple compound butter. It melts over the hot chicken and adds a rich, savory finish without much extra effort.
Chicken Seasoning
A blend of salt, black pepper, garlic powder, smoked paprika, and a small pinch of cayenne gives the chicken a warm, slightly smoky flavor. Feel free to swap in Italian seasoning, cumin, or your own favorite spice mix.
Special Equipment
You do not need much for this recipe, but a couple of tools make a real difference.
- A well-seasoned cast iron skillet, at least 10 to 12 inches wide
- An instant read meat thermometer
- Tongs for flipping the chicken safely
- Paper towels for drying the chicken before seasoning
Step by Step: How to Make Cast Iron Chicken Breast
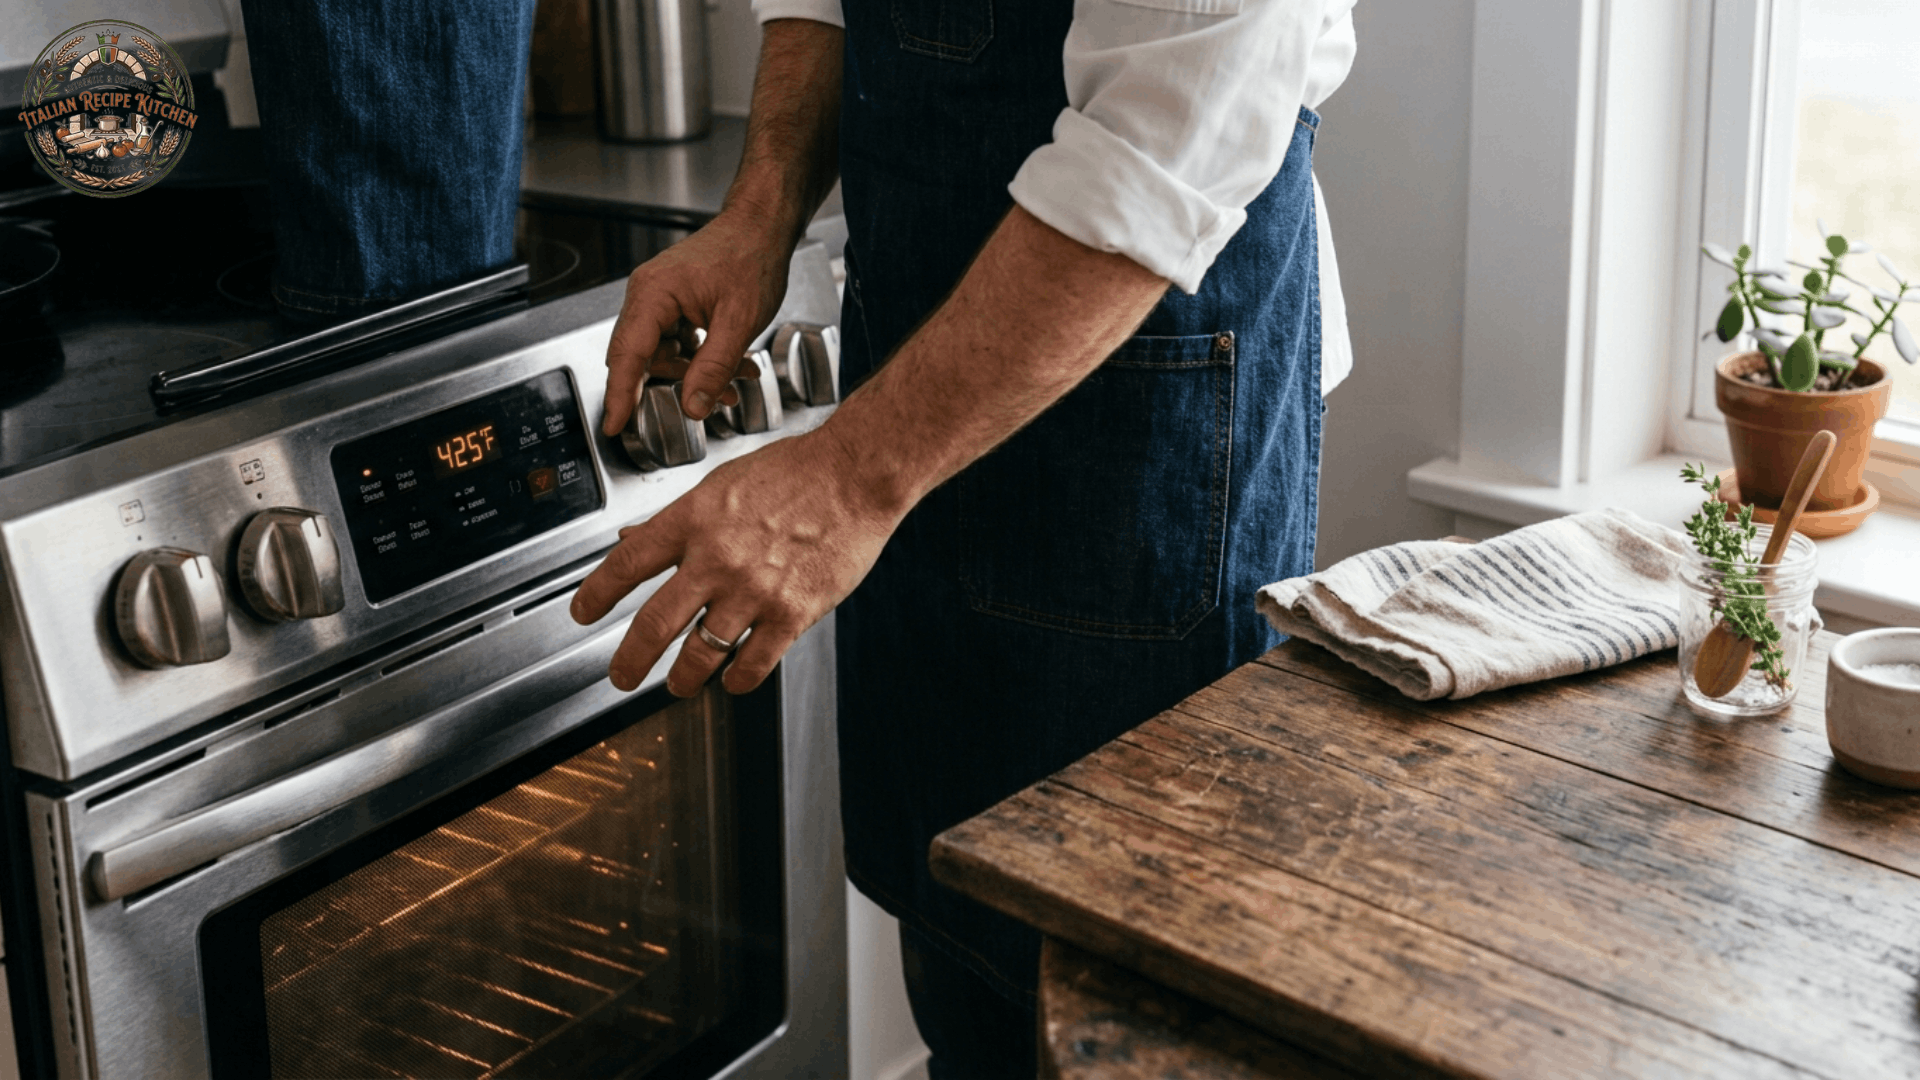
Step 1: Preheat the Oven
Preheat your oven to 425°F (220°C), so it is fully heated before the chicken goes in.
Step 2: Prepare the Chicken
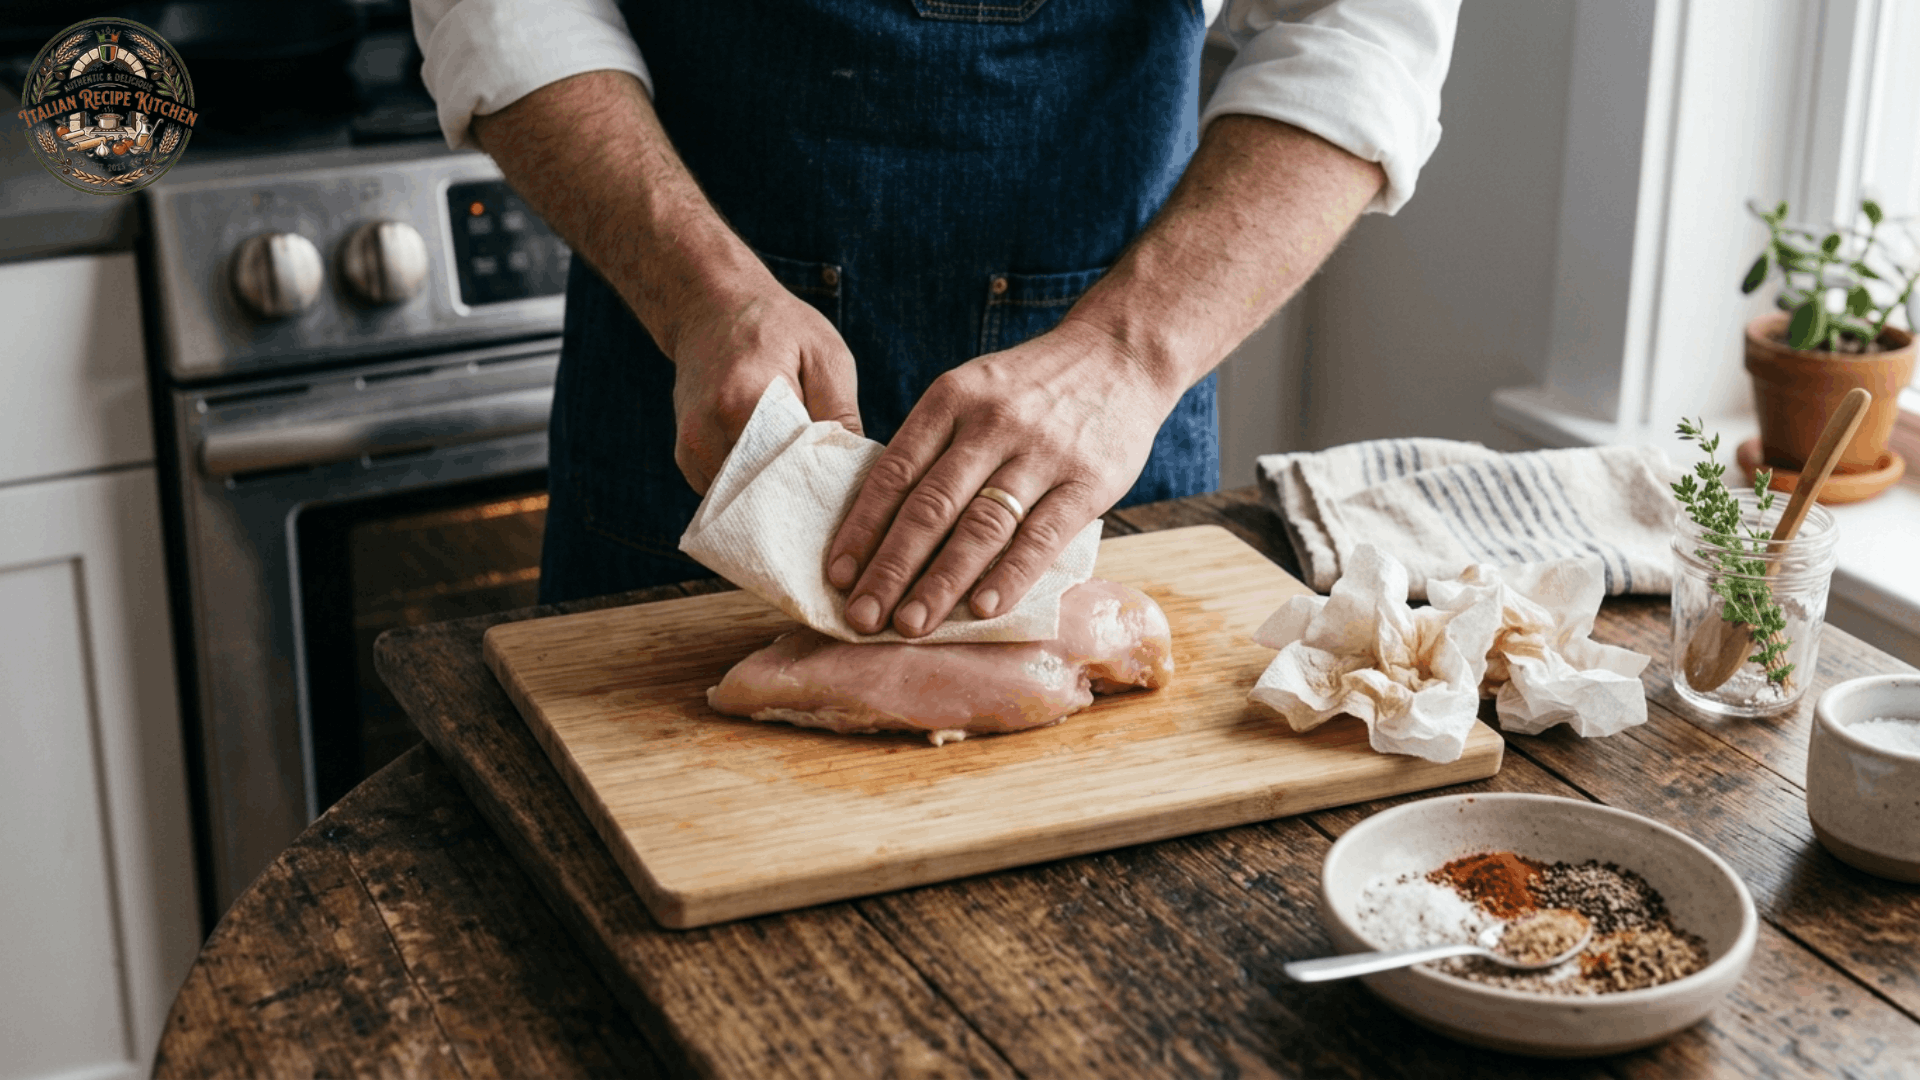
Pat the chicken breasts completely dry with paper towels. This helps the seasoning stick better and creates a golden, flavorful crust.
Step 3: Season the Chicken
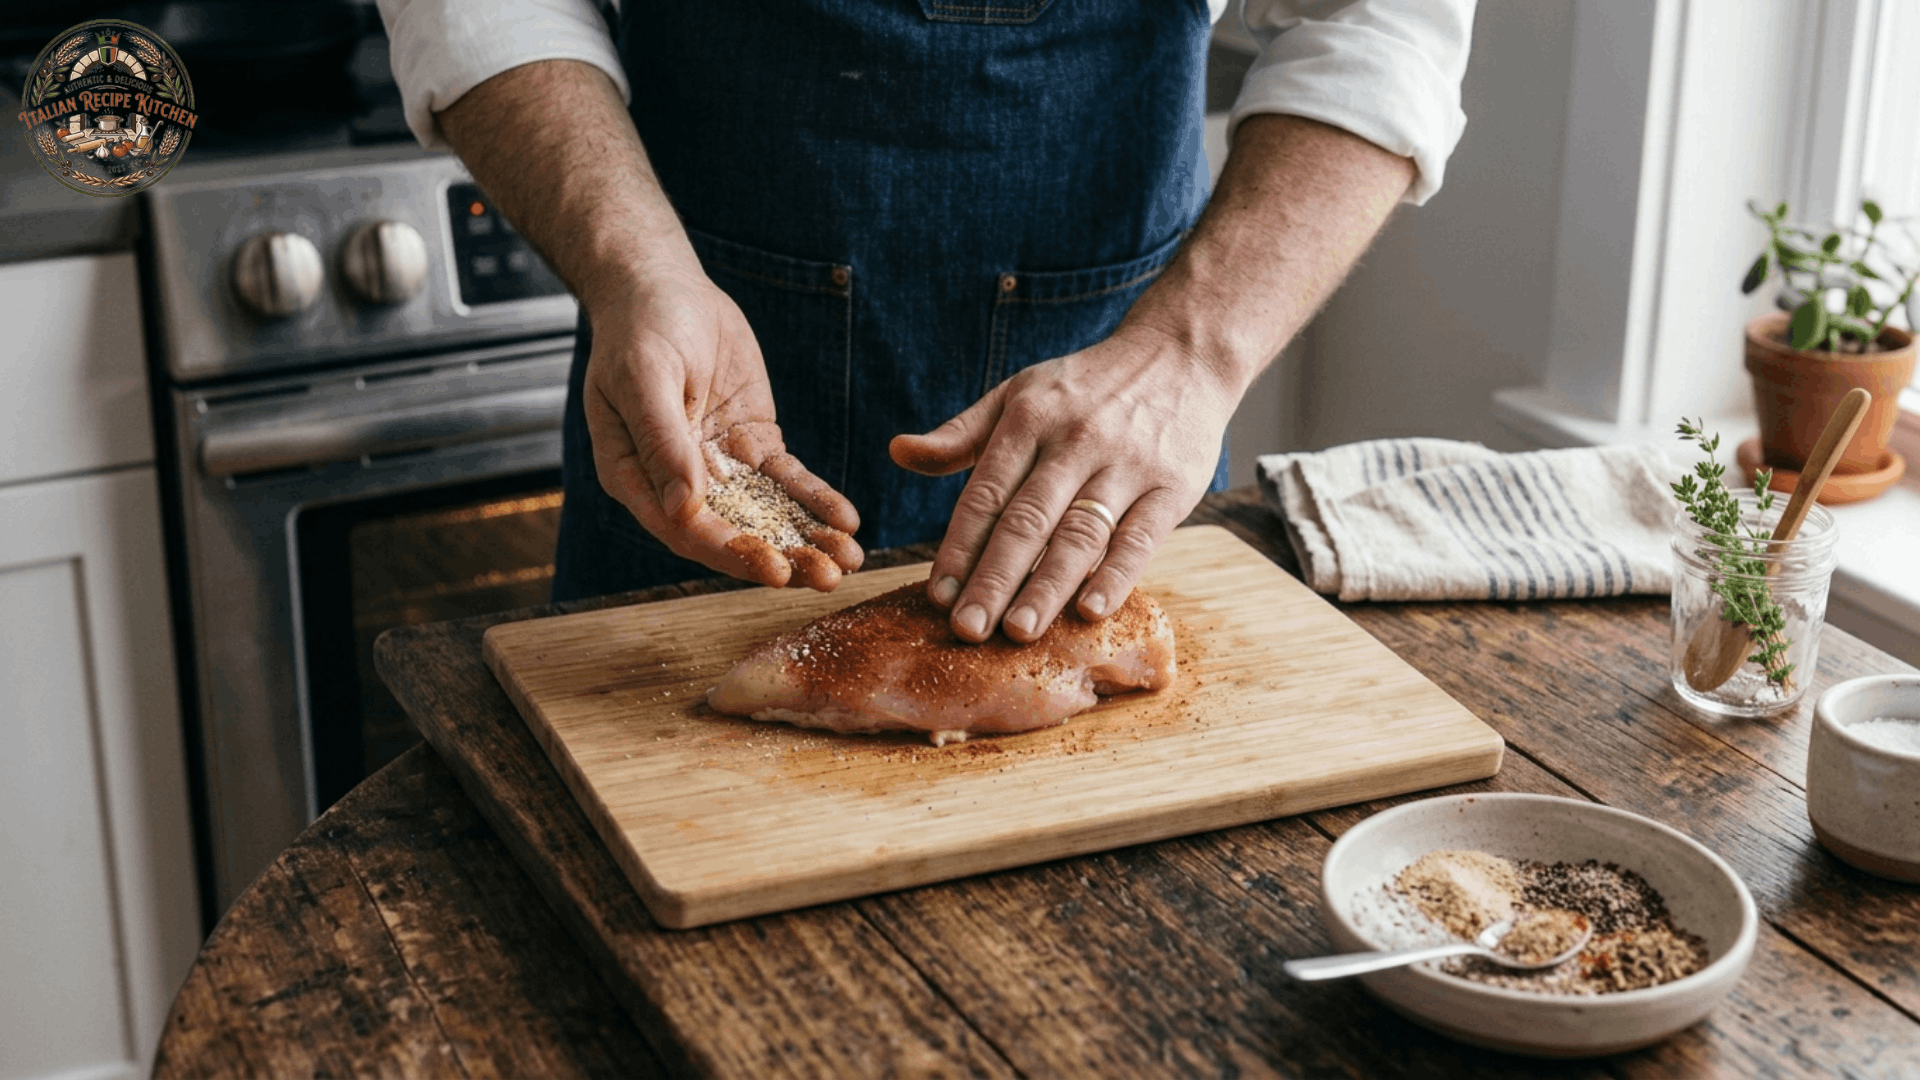
In a small bowl, combine the salt, black pepper, garlic powder, paprika, and cayenne pepper. Rub the seasoning evenly over both sides of the chicken breasts.
Step 4: Heat the Skillet
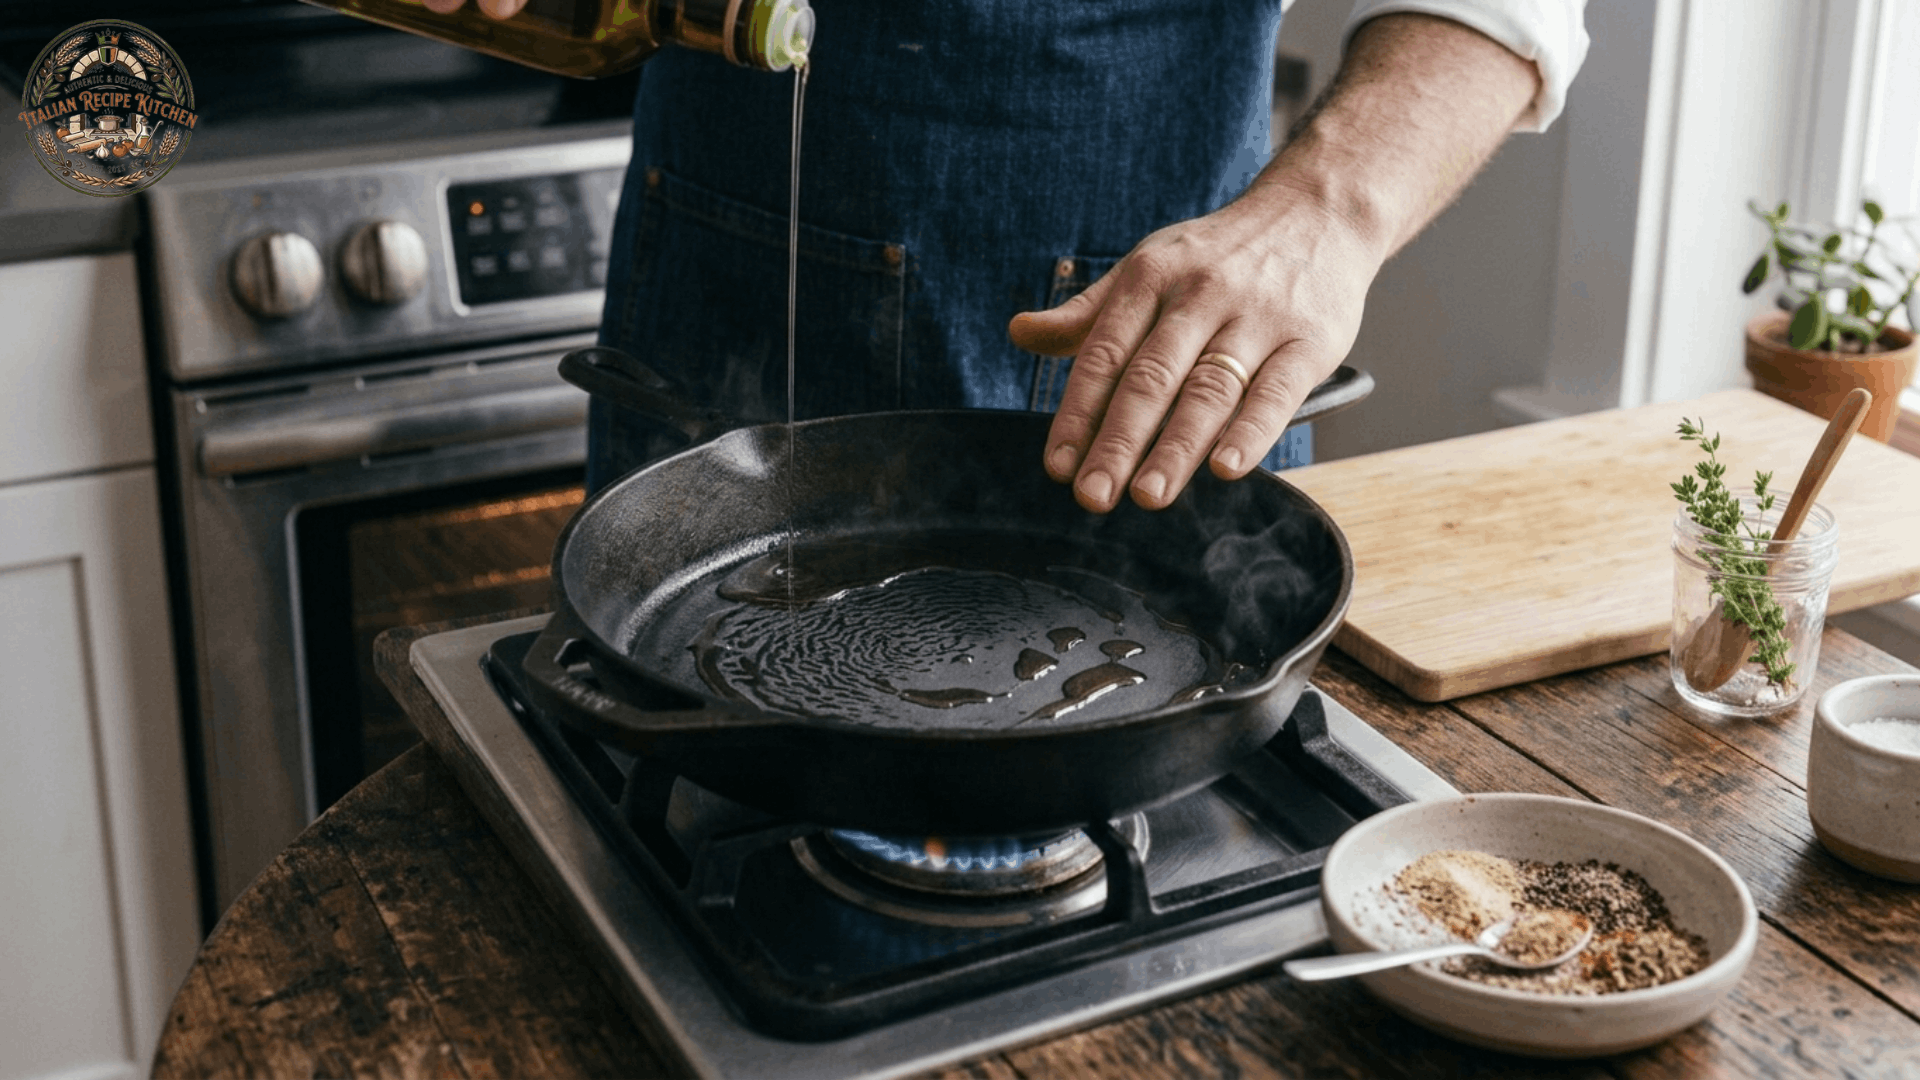
Place a cast iron skillet over medium-high heat and add 1 tablespoon of a high smoke point oil, such as avocado or vegetable oil. Heat until the oil begins to shimmer.
Step 5: Sear the Chicken
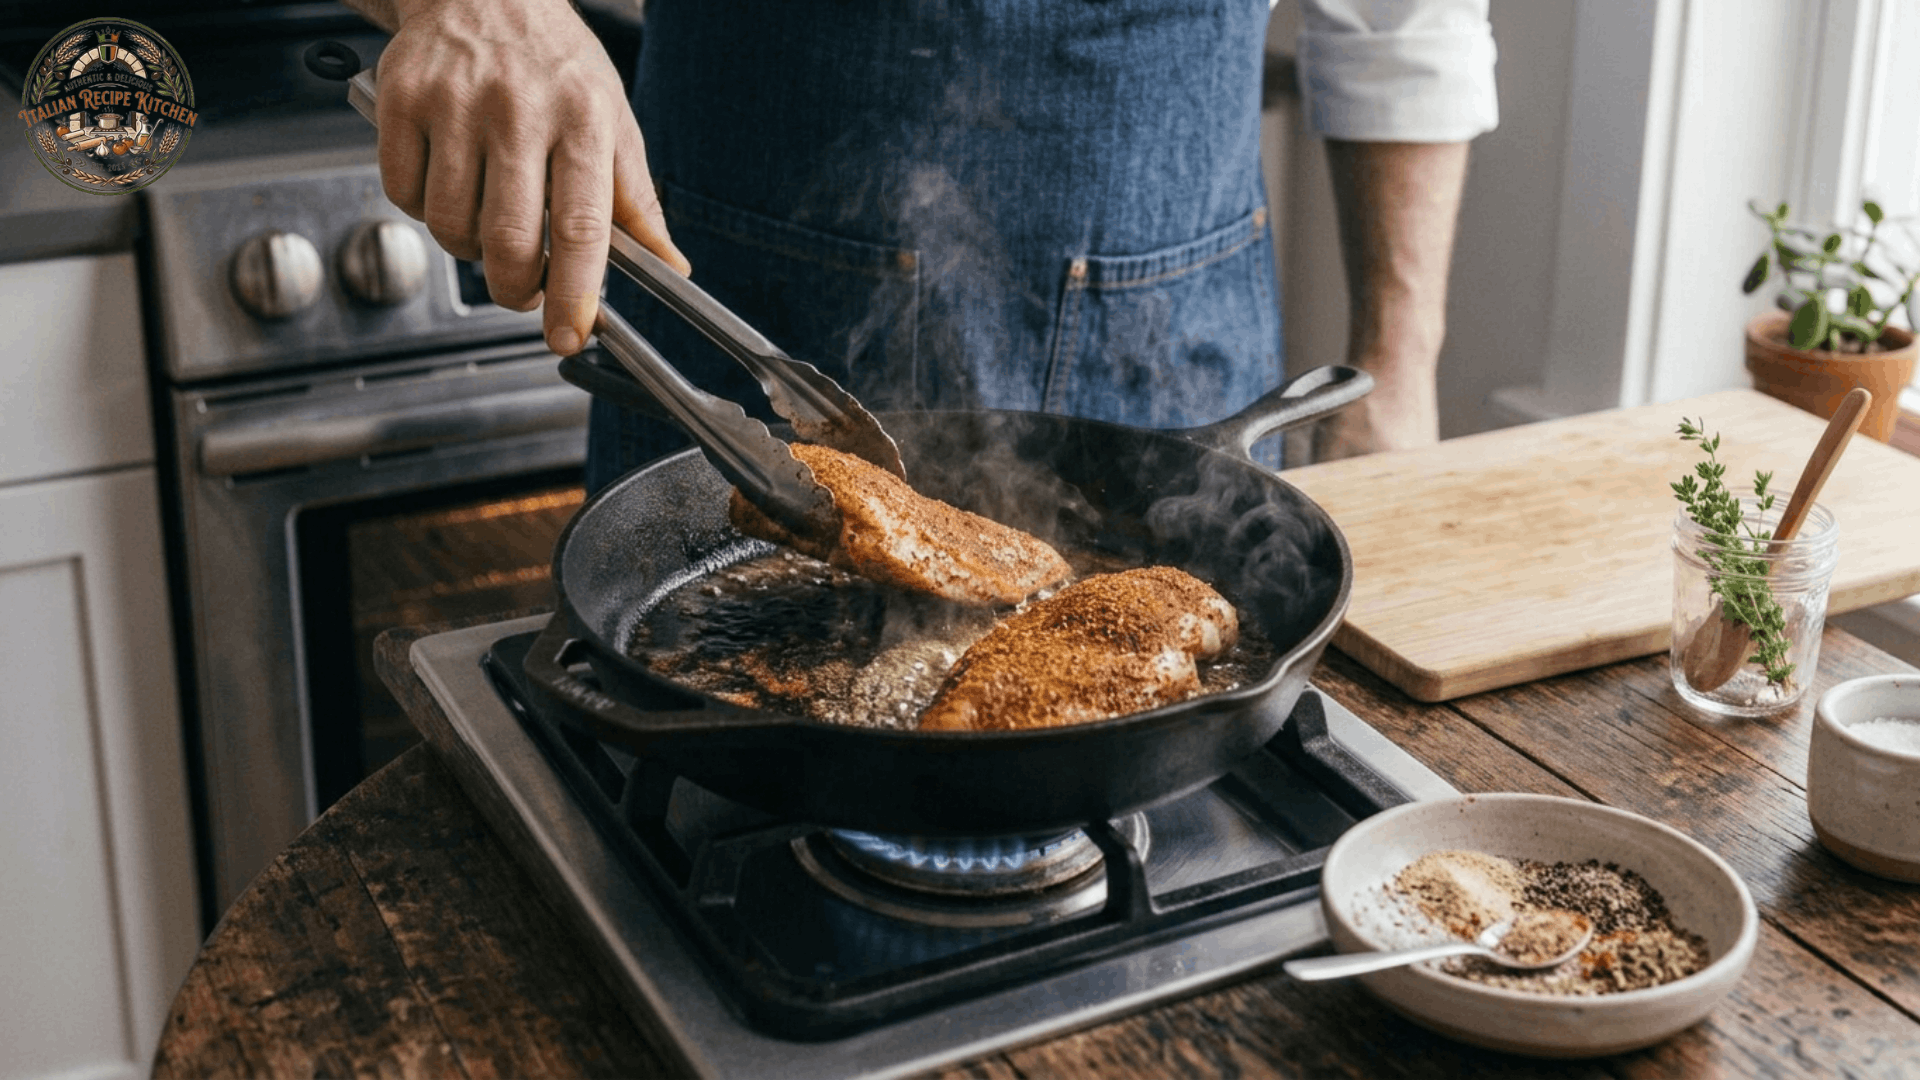
Add the seasoned chicken breasts to the hot skillet. Let them cook undisturbed for about 5 minutes until a deep golden crust forms.
Step 6: Finish Cooking in the Oven
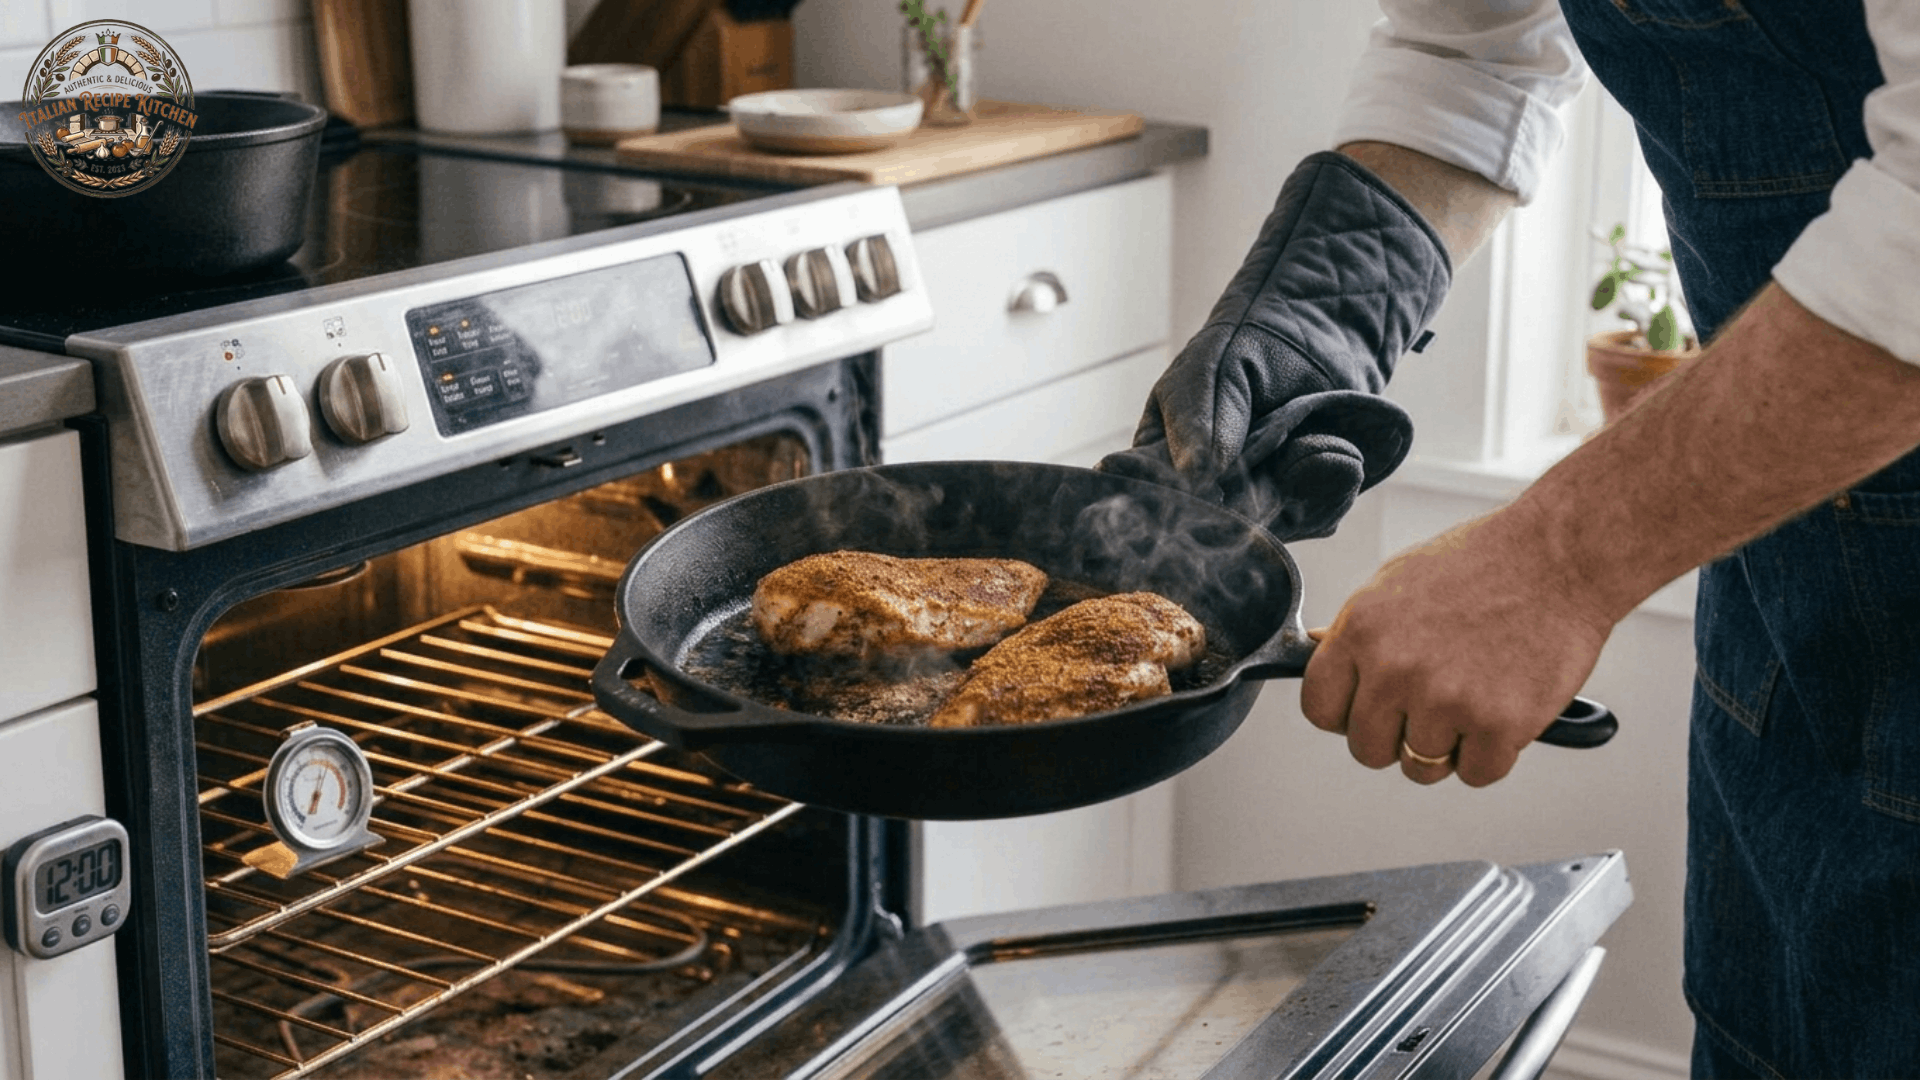
Flip the chicken breasts, then transfer the entire skillet to the preheated oven. Bake for 10 to 15 minutes, or until the thickest part reaches 160–162°F (71–72°C) on an instant-read thermometer.
Step 7: Add the Garlic Herb Butter
Remove the skillet from the oven and immediately top each chicken breast with a spoonful of garlic herb butter. Let the butter melt over the hot chicken.
Step 8: Rest and Serve
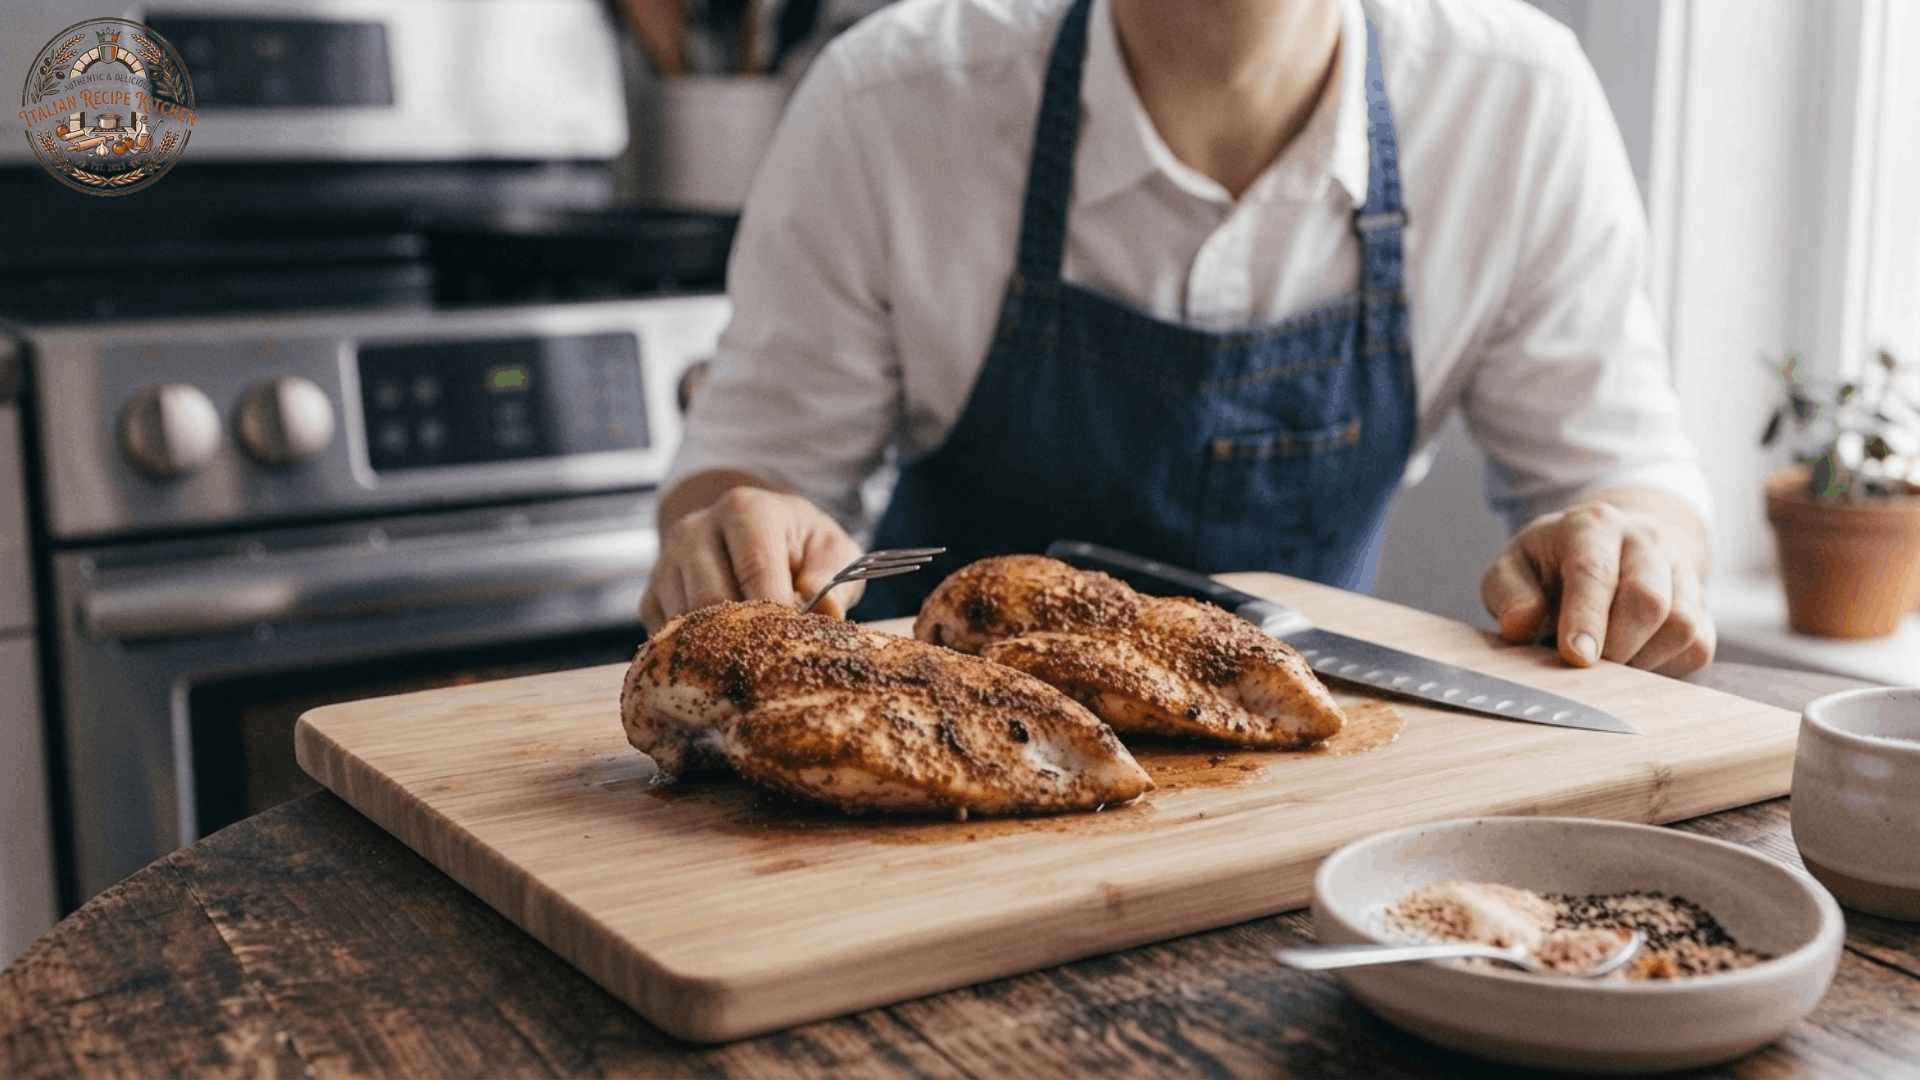
Allow the chicken to rest for 5 to 10 minutes before slicing. During this time, the juices redistribute, and the internal temperature will rise to the safe serving temperature of 165°F (74°C), resulting in juicy, tender chicken.
Recipe Variations
This method is really more of a technique than a fixed recipe, so it welcomes plenty of variation.
- Swap the spice blend for taco seasoning, Cajun seasoning, or a simple Italian herb mix.
- Replace the garlic herb butter with a squeeze of fresh lemon for a lighter finish.
- Use bone-in chicken thighs instead of breasts for a juicier, more forgiving cut.
- Add sliced lemon halves to the skillet while searing for a light citrus aroma.
- Finish with grated parmesan and fresh basil for an Italian-style plate.
Tips for Success
A few small habits separate good cast iron chicken from great cast iron chicken.
- Always dry the chicken thoroughly before seasoning for the best sear.
- Do not move the chicken while it sears, since disturbing it early tears the forming crust.
- Avoid crowding the skillet. Cook in batches if needed so the chicken browns instead of steaming.
- Rely on a thermometer rather than guessing by color or time.
- Let the chicken rest before cutting so the juices stay inside instead of spilling onto the board.
Recipe Notes
Chicken breasts vary a lot in size, so cooking time is more of a guide than a rule. Thinner breasts may finish baking in as little as 8 minutes, while thicker ones can take closer to 18 minutes. Always trust the thermometer over the clock.
If you do not own a cast iron skillet, any oven-safe pan will work, including stainless steel. Just make sure the handle can safely go into a hot oven.
What We Learned While Testing This Recipe
After testing this method multiple times with different breast sizes and pans, a clear pattern emerged. Searing first, then finishing in the oven, consistently produced juicier meat than cooking entirely on the stovetop. Chicken cooked start to finish in a skillet often overcooked on the outside before the center caught up.
Pulling the chicken a couple of degrees under 165°F and letting it rest also made a noticeable difference. The residual heat finishes the job gently, without pushing the meat past the point of dryness.
What to Serve with Cast Iron Chicken Breast
This chicken pairs well with almost anything, which is part of what makes it such a reliable dinner option.
- Roasted vegetables like asparagus, broccoli, or Brussels sprouts
- A simple green salad with lemon vinaigrette
- Garlic mashed potatoes or cauliflower rice
- Buttered pasta or a light cream sauce
- Warm dinner rolls or crusty bread for soaking up the pan juices
Storage and Reheating
Store leftover chicken in an airtight container in the refrigerator for up to 4 days. For longer storage, freeze the cooked chicken for up to 3 months in a freezer-safe bag.
To reheat, warm the chicken in a 350°F oven for about 10 minutes, or use an air fryer for a few minutes to bring back some crispness. The microwave also works in a pinch, though the texture will be softer.
Nutrition Information
Nutrition will vary slightly depending on the size of the chicken breast and the amount of butter used, but here is a general estimate per serving.
| Nutrient | Approximate Amount |
|---|---|
| Calories | 290 to 300 kcal |
| Protein | 45 to 48 g |
| Fat | 8 to 10 g |
| Carbohydrates | 1 g |
| Sodium | 280 to 350 mg |
Final Thoughts
Cast iron chicken breast proves that a simple weeknight dinner does not need to be boring or dry. With one pan, a handful of pantry spices, and a reliable sear and bake method, you get a meal that tastes far more impressive than the effort it takes. Once you get comfortable with the timing, this recipe becomes second nature.
Frequently Asked Questions
How do I keep chicken breast from drying out in a cast iron skillet?
Sear it first to build a crust, then finish in the oven and pull it a couple of degrees before 165°F, letting it rest to finish cooking.
What oil is best for searing chicken in cast iron?
Choose a neutral oil with a high smoke point, such as avocado, canola, or vegetable oil, since it can handle high heat without burning.
Can I use chicken thighs instead of chicken breasts?
Yes, thighs work well with this same method and tend to stay juicy even if slightly overcooked.
Do I need to marinate the chicken before cooking?
No, a dry spice rub is enough for great flavor, though you can marinate up to 48 hours ahead if you prefer.
How long should chicken breast rest after cooking?
Let it rest for 5 to 10 minutes before slicing so the juices redistribute through the meat.
Can I make this recipe without a cast iron skillet?
Yes, any oven-safe skillet, including stainless steel, will work for the sear and bake method.